
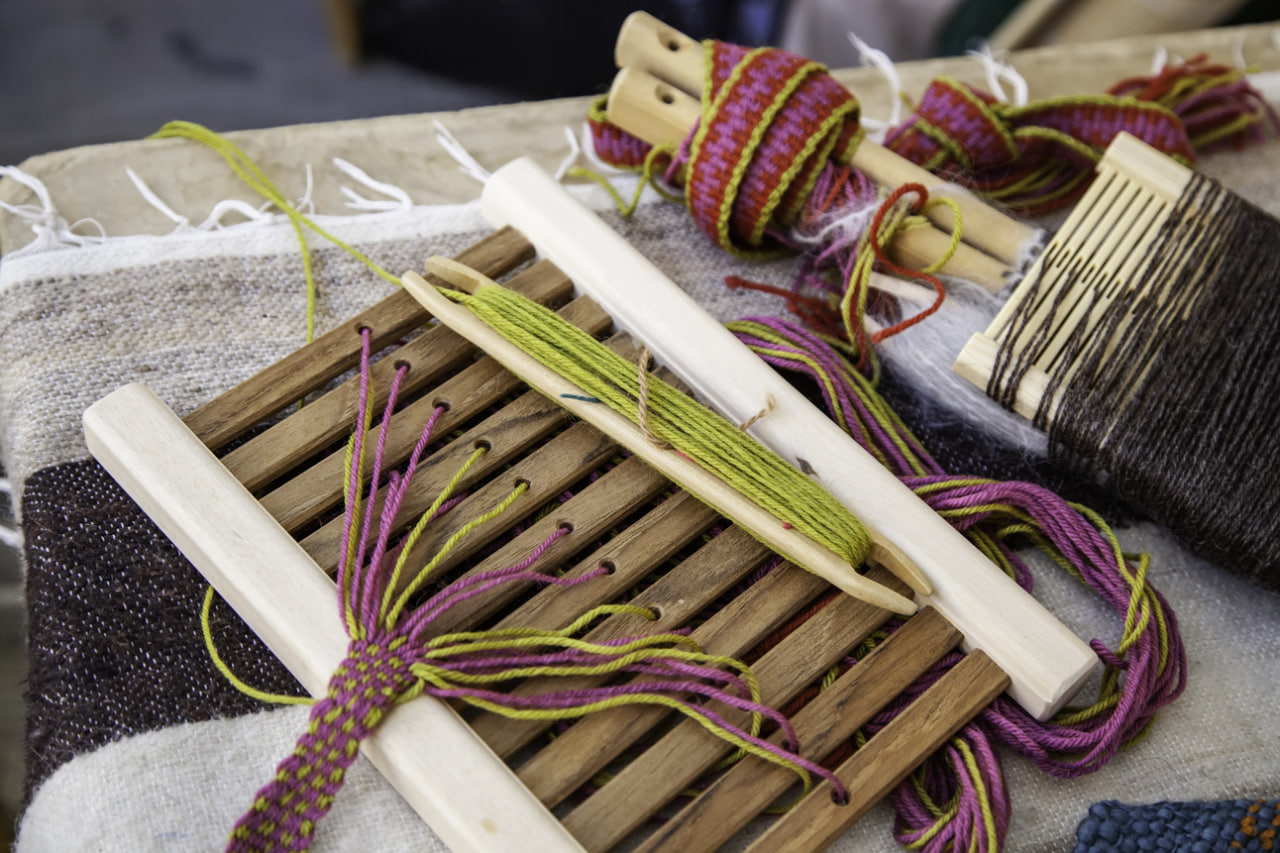
Color Blending and Pattern Design in Mini Loom Projects
Color and pattern are central to the visual impact of any tapestry. Even on a…
Color and pattern are central to the visual impact of any tapestry. Even on a small mini loom, thoughtful use of color blending and deliberate pattern design can transform a simple woven piece into a striking work of art. Understanding how to combine colors, create gradients, and design cohesive patterns allows makers to fully express their creativity while maintaining balance and harmony in their mini loom projects.
Mastering these concepts also lays the foundation for more advanced weaving, enabling you to experiment with shading, texture, and complex motifs.
Understanding Color Theory for Tapestry
A strong grasp of color theory is essential for successful mini loom projects. Complementary colors, analogous colors, and contrasting tones can all influence how a tapestry is perceived.
Complementary Colors – Colors opposite each other on the color wheel (like blue and orange) create strong visual contrast.
Analogous Colors – Colors next to each other on the color wheel (like blue, teal, and green) create harmonious transitions.
Warm and Cool Tones – Warm colors (reds, oranges, yellows) advance visually, while cool colors (blues, greens, purples) recede, helping create a sense of depth.
Considering these principles before weaving ensures that the final piece is visually appealing and balanced.
Techniques for Blending Colors
Blending yarn colors in mini loom weaving allows for smooth transitions, gradients, and subtle shading effects. Several methods can be used to achieve effective blending:
Alternating Rows – Weave two colors in alternating rows to create a soft, mixed effect.
Thread Mixing – Carry two strands of different colors together through the weft to produce a blended hue.
Gradual Change – Gradually decrease one color while increasing another across several rows to form a gradient.
Color blending requires patience and careful tension control to maintain a consistent surface and avoid uneven transitions.
Creating Simple Patterns
Patterns add rhythm, structure, and personality to mini loom tapestries. Beginners can start with basic geometric or repeating patterns before exploring more complex designs.
Stripes – Alternating bands of color provide a simple yet effective pattern. Varying the thickness of stripes adds visual interest.
Blocks and Squares – Combining contrasting colors in blocks creates clear, modern patterns.
Chevron or Zigzag – A classic motif achieved by carefully alternating diagonal weaving.
Practicing these patterns helps develop precision and familiarity with the loom, setting the stage for more intricate designs.
Advanced Pattern Techniques
As confidence grows, more advanced patterning can be introduced:
Mosaic and Houndstooth – Small geometric repeats that rely on careful yarn placement for clarity.
Abstract Motifs – Freeform shapes and organic patterns that emphasize color transitions and texture.
Motif Layering – Superimposing one pattern over another using contrasting colors to create depth.
Advanced patterns often require planning, sketching designs, and sometimes using a graph or template to ensure accuracy.
Balancing Color and Texture
Color blending and pattern design work best when balanced with texture. Combining raised elements, loops, or thicker yarns with blended color areas enhances visual depth and prevents the tapestry from feeling flat.
Highlight focal points with slightly different textures.
Use muted textures in background areas to allow patterns and color transitions to stand out.
Maintain consistency in tension and yarn placement to keep the design cohesive.
Testing and Planning
Before weaving, it is helpful to test color combinations and patterns on a small piece of scrap fabric or a sample loom section. Testing allows you to see how colors interact in real light, how they blend, and how patterns appear in practice.