
Creating Texture and Dimension in Small Tapestries
Texture and dimension are what transform a simple mini loom tapestry from a flat, two-dimensional…
Texture and dimension are what transform a simple mini loom tapestry from a flat, two-dimensional piece into a visually dynamic and tactile work of art. By carefully layering yarns, varying weaving techniques, and experimenting with materials, makers can create depth, movement, and a sense of richness in their small-scale tapestries.
Understanding how to manipulate texture and dimension is essential for both beginners and more advanced weavers. Even on a compact loom, these techniques allow a tapestry to feel more expressive and intricate without increasing the size of the project.
The Role of Texture in Tapestry Weaving
Texture refers to the surface quality of the tapestry—the way it feels and looks. Adding texture creates visual interest and emphasizes different areas of the design.
Texture can be subtle, such as slight variations in yarn thickness, or more pronounced, such as raised loops, knots, or fringe. The key is to use texture intentionally, supporting the design rather than distracting from it.
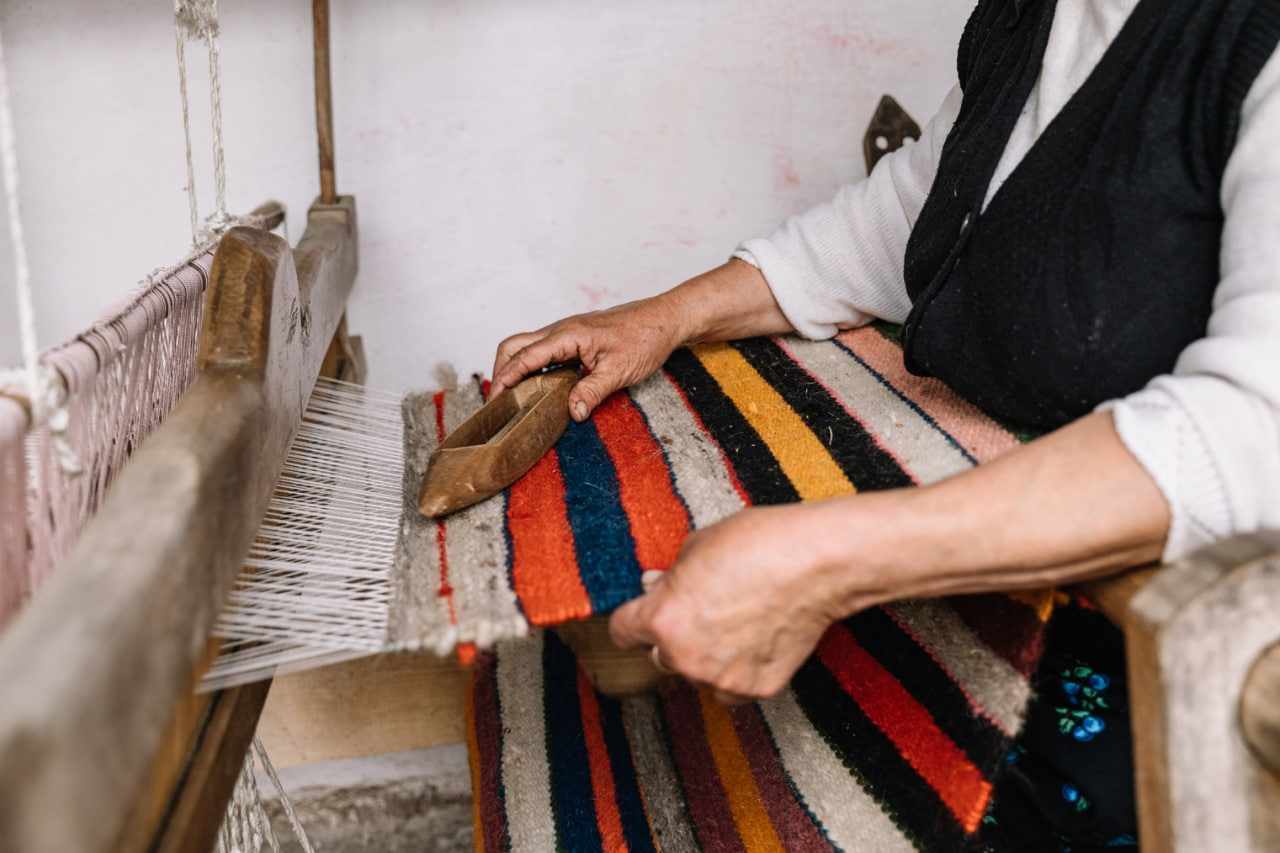
Layering Techniques
Layering is one of the most effective ways to add depth. By weaving multiple layers of yarn on top of each other, you create areas that stand out and catch light differently.
Techniques for layering include:
Overlapping Wefts – Weaving a second row of weft slightly over the first creates a sense of elevation.
Double Rows – Placing two rows of the same color or contrasting colors closely together increases prominence in the design.
Shadow Weaving – Using a slightly darker yarn beneath lighter yarn adds a sense of shadow and depth.
Layering encourages creativity, allowing makers to experiment with how different elements interact visually.
Looping and Knots
Loops and knots are tactile techniques that bring three-dimensional qualities to mini loom tapestries. They can represent natural elements such as flowers, grass, or waves, or simply add playful texture.
Looping – Create small or elongated loops with the weft yarn to form raised areas. Loops can be left loose or pressed flat for different effects.
Knots – Secure small sections with knots to create bumps or clusters. Knots can be evenly spaced or irregular for organic patterns.
These techniques add a sense of movement and can be combined with other weaving methods for a dynamic look.
Combining Yarn Types and Thicknesses
Using yarns of varying thicknesses and materials enhances both texture and dimension. Thick, chunky yarns create prominence, while thin or delicate yarns provide subtle detail.
Contrast – Pair smooth yarn with fuzzy or textured fibers to highlight differences.
Layering Textures – Alternate soft and coarse yarns to simulate natural forms like fur, grass, or waves.
Color and Texture – Texture combined with contrasting colors increases depth perception, making elements stand out visually.
Experimenting with different yarn types allows makers to create complex, interesting tapestries without increasing the size of the piece.
Creating Raised Patterns
Raised patterns give the impression of dimension even in a small tapestry. Techniques include:
Soumak Weave – A looping technique that wraps the weft around warp threads to create a raised, rope-like effect.
Rya Knots – Small knots tied onto the warp, often used to create fringe or raised patterns resembling hair or grass.
Pile Weaving – Short loops that can be cut or left uncut to form a plush surface.
These techniques add structure and interest, giving the tapestry a more intricate and professional appearance.
Using Negative Space
Negative space—the areas of the warp that are left bare—can enhance dimension by creating contrast and emphasizing textured elements. By carefully planning where texture is applied, makers can guide the viewer’s eye and highlight focal points.
Empty spaces can create balance, prevent overcrowding, and make textured elements feel more impactful.